
Table of Contents
- Why a Windowless Wet Room Traps Moisture (and What That Costs You)
- Step 1: Choose a Wet Room Extractor Fan That Matches the Room
- Step 2: Plan Bathroom Fan Ducting That Actually Reaches the Outdoors
- Step 3: Give the Fan a Fresh-Air Supply Path
- Step 4: Set Up Humidity Controls and Run-On Timers
- Step 5: Learn How to Reduce Bathroom Condensation Day to Day
- Step 6: Use a Dehumidifier for a Windowless Bathroom as Backup
- Step 7: Commission, Maintain, and Troubleshoot Your System
- Frequently Asked Questions
Last Updated: October 19, 2026
Why a Windowless Wet Room Traps Moisture (and What That Costs You)
A windowless wet room has no natural escape route for moisture. Every shower releases water vapour into the air, and without an opening, that vapour settles on cold tiles, grout, and painted ceilings.
The cost of getting this wrong shows up slowly. Damp patches spread behind tiles. Mould takes hold in silicone joints. Stale air and odours linger long after the shower stops.
Moisture removal is a system, not a single product. You need extraction, a fresh-air supply, and controls that keep the fan running long enough to clear the room.
Ventilation in a windowless wet room works only when extraction, air supply, and run time all function together. Fix the weakest link first.
Step 1: Choose a Wet Room Extractor Fan That Matches the Room
The right wet room extractor fan moves enough air for the room’s volume, not just its floor area. Fan capacity is measured in cubic metres per hour (m³/h), and the only reliable way to choose one is to work from the room’s volume and a target number of air changes per hour.
A practical sizing method
- Measure length, width, and ceiling height in metres.
- Multiply them to get the room volume in cubic metres.
- Decide how many air changes per hour the room needs. A common starting point for a bathroom is 6 to 8 air changes per hour; a wet room with an open shower and heavy daily use should sit at the upper end or above, because steam spreads across the whole waterproofed zone rather than staying in a tray.
- Multiply volume by air changes to get the required extraction rate in m³/h.
- Add headroom of roughly 20-25% for duct resistance, bends, and a dirty grille, then choose a fan rated at or above that figure at the actual static pressure of your duct run, not just the free-air figure on the box.
Worked example: a room 2.4 m × 2.0 m × 2.4 m has a volume of 11.5 m³. At 8 air changes per hour that is 92 m³/h; adding 25% headroom gives about 115 m³/h, so a fan rated around 120 m³/h at the duct’s pressure is the sensible target.
Wet rooms need more extraction than a typical bathroom of the same footprint. Full-room waterproofing means moisture spreads across walls and floor, and frequent showering keeps the room humid for longer. Size for the worst realistic day, not the average one.
Fan placement: ceiling, wall, or inline
Ceiling mounting works well in wet rooms because steam rises. A wall-mounted extractor fan suits rooms with a suitable external wall.
Our rule of thumb: put the intake as close to the shower as practical, and keep the duct exit as short and direct as the layout allows. Long, winding duct runs rob a fan of performance, which is why the sizing step above includes headroom for resistance.
Timer, humidity-sensing, or continuous running
Fan choice is not only about capacity. A basic on/off fan switched off at the end of a shower leaves moisture behind. A run-on timer keeps extraction going for a set period after the switch turns off.
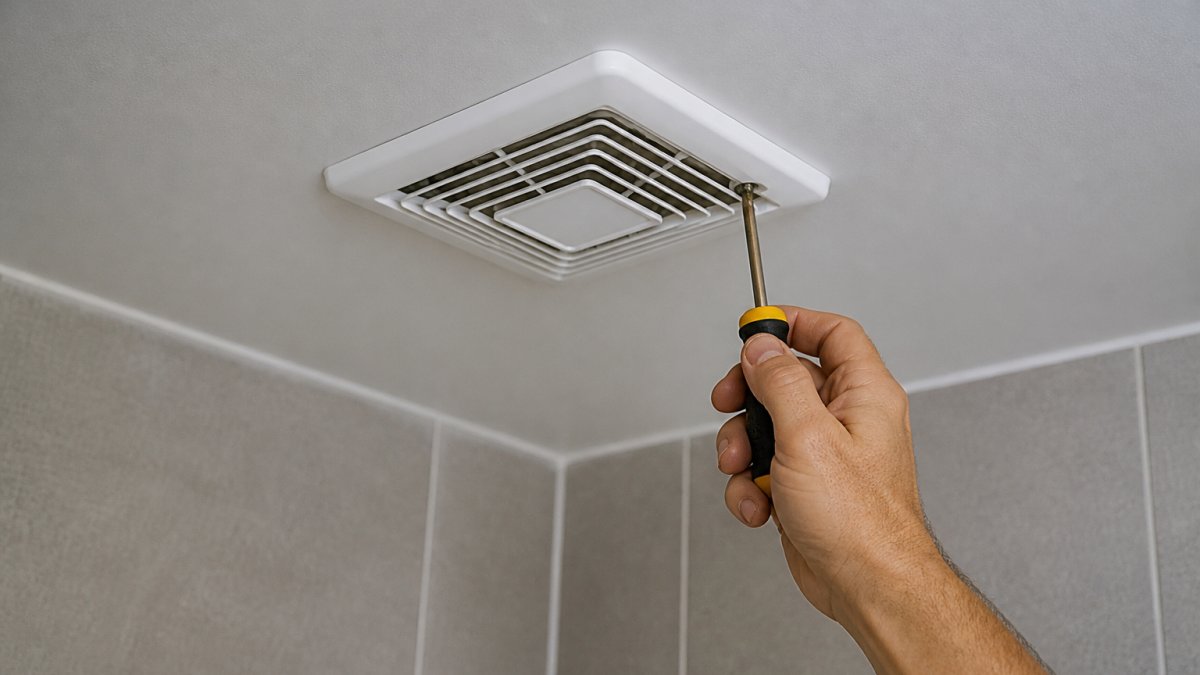
Before buying, note the duct diameter the fan expects. A high-capacity fan choked down to a smaller duct will not deliver its rated airflow, and the mismatch is one of the most common reasons a new fan feels weak.
Step 2: Plan Bathroom Fan Ducting That Actually Reaches the Outdoors
Bathroom fan ducting must terminate outdoors, never in a loft or wall cavity. Dumping moist air into a roof space moves the problem instead of solving it. That moisture condenses on cold timber and insulation, and the damage is far harder to fix than a simple re-route.
Good duct routing follows a few principles, but the details matter more than the principles:
- Keep the run as short and straight as possible. Every metre of duct and every bend adds resistance, and a fan rated at free air will move noticeably less through a long run.
- Match the duct diameter to the fan’s outlet. Reducing a 100 mm fan outlet to a 75 mm duct, or squeezing a 150 mm fan into a 100 mm run, cuts airflow sharply. If the fan specifies 100 mm, run 100 mm all the way to the termination.
- Use smooth, rigid duct over flexible hose where you can. Flexible hose is easier to fit but its ridges trap air and collect lint, and it sags into traps where condensation pools.
- Seal every joint so air does not leak into the ceiling. Leaks reduce the air reaching the outside and push moist air into the structure.
- Insulate duct passing through cold zones to stop condensation inside the pipe. A cold duct in a roof space will condense warm moist air before it reaches the outside, and that water runs back or drips.
Duct routing and termination tips
Terminate through an external wall or a roof vent with a proper duct termination and flap. The flap stops backdraughts and keeps rain and pests out. Avoid sharp 90-degree bends; two gentle 45-degree bends move air better than one hard corner, and a swept bend is better than a tight elbow.
If the only route is long, an inline fan placed mid-run often outperforms a ceiling fan pushing air the same distance, because the fan is pulling rather than fighting the full length of duct ahead of it.
Troubleshooting weak airflow and duct condensation
A duct that looks fine can still underperform. Check these before blaming the fan:
- Tissue test: hold a square of tissue to the grille with the fan running. If it does not pull flat and stay, airflow is weak.
- Flap check: confirm the exterior flap opens freely when the fan runs and closes when it stops. A stuck or missing flap means backdraughts or pests.
- Bend count: count the bends between fan and termination. Several tight elbows can halve effective airflow even on a correctly sized fan.
- Duct diameter: verify the run is the same diameter as the fan outlet end to end, with no reducers hidden in the ceiling.
- Condensation: water dripping from the grille or staining near the termination usually means uninsulated duct in a cold zone or a sagging run holding water. Re-route, re-insulate, or add a drain point as appropriate.
- Lint: a grille or duct clogged with lint and dust loses capacity over time. Clean the grille and check the duct at service points.
If airflow is still weak after these checks, the fan may be undersized for the duct’s resistance, or the run may need an inline booster. That is the point to bring in a ventilation professional rather than keep swapping fans.
A duct that ends in a loft, a wall cavity, or a disused chimney flue is not ventilating the room, it is feeding moisture into the building fabric. Trace the run to its actual outdoor termination before assuming the system works.
Step 3: Give the Fan a Fresh-Air Supply Path
A fan cannot extract air from a sealed box. For airflow to work, replacement air must enter the room. In a windowless wet room, that fresh-air supply has to come through the building.
The simplest path is a door undercut or a transfer grille. A door undercut lets air slip under the door while the fan pulls it through. A transfer grille in the door or wall does the same job more deliberately.
Sealing a wet room door tight to stop draughts can starve the fan of make-up air. The fan then runs loudly and moves almost nothing. Leave a gap or fit a transfer grille.
Step 4: Set Up Humidity Controls and Run-On Timers
A fan switched off the moment you leave the shower leaves moisture behind. Humidity controls and a run-on timer keep extraction going until the air is actually clear.
A humidity sensor reads the moisture in the air and keeps the fan running until levels drop.
Set the run-on timer generously. Ten to fifteen minutes after a shower is a sensible starting point, then adjust based on how the room feels and how quickly condensation clears.
Step 5: Learn How to Reduce Bathroom Condensation Day to Day
Knowing how to reduce bathroom condensation starts with habits, not hardware. Small daily actions cut the moisture load before the fan has to deal with it.
Try these:
- Keep showers shorter and use a slightly cooler temperature
- Squeegee walls and glass after each shower
- Close the shower screen so steam stays contained
- Leave the bathroom door open after use once the fan has run
- Dry towels on a rack outside the wet room, not inside it
Towel drying inside a windowless wet room adds moisture back into the air. Move damp towels out and the room clears faster.
Step 6: Use a Dehumidifier for a Windowless Bathroom as Backup
A dehumidifier for a windowless bathroom is a useful backup, not a replacement for extraction. It pulls moisture from the air when the fan cannot keep up, or during humid stretches when outdoor air is already damp.
Run it after long showers or on muggy days. Choose a unit sized for the room and empty the tank regularly, or plumb it to a drain if the model allows. Pair it with the fan rather than relying on it alone.
Step 7: Commission, Maintain, and Troubleshoot Your System
A ventilation system only performs if it is set up and maintained. Commissioning means checking the fan actually moves air and the controls work as intended.
A quick maintenance routine:
- Clean the fan grille and blades every few months
- Check the exterior flap opens freely
- Clear any dust or lint from the duct
- Test the humidity sensor and run-on timer
- Listen for rattles or weak airflow, which signal a blockage or failing fan
Common mistakes to avoid
The biggest errors we see are ducting that ends in a loft, fans sized for a small bathroom but fitted in a wet room, and no fresh-air path. Each one quietly cancels the others.
Tape a single square of tissue to the fan grille and switch it on. If the tissue does not pull flat, airflow is weak. It is a fast, free check before you call anyone.
Ventilating a windowless wet room comes down to a system that works together: the right fan, a duct that reaches outdoors, a fresh-air path, and controls that run long enough to clear the moisture. Get those right and damp, mould, and stale air stop being a recurring problem.
Frequently Asked Questions
How do you ventilate a windowless wet room?
Install a mechanical extractor fan sized to the room’s volume, route ducting to an exterior wall or roof, and provide a fresh-air path through a door undercut or transfer grille. Run the fan during showers and for at least 20-30 minutes afterward using a timer or humidity sensor. Keep the door open when the room is not in use, and add a dehumidifier as backup during humid months.
Where should an extractor fan go in a wet room?
Place the fan as close to the shower and steam source as possible, typically on the ceiling above or near the wet zone. Wall-mounted fans work if the duct run is short and direct. Inline fans in the loft or ceiling void suit longer duct runs. Avoid placing the fan directly over a shower head unless the unit is rated for wet-zone installation.
How long should a bathroom extractor fan run after a shower?
Run the fan for at least 20-30 minutes after a shower to clear residual moisture. A run-on timer or humidity sensor automates this. For heavy steam or multiple daily showers, extend the run time or choose a fan with a adjustable overrun setting. Continuous low-speed extraction is another option for busy wet rooms.
Can a windowless wet room develop mold without proper ventilation?
Yes. Without mechanical ventilation, shower steam and moisture have nowhere to go, raising humidity levels and creating condensation on cool surfaces. Over time, damp grout, silicone, and painted walls become ideal conditions for mold growth. A correctly sized extractor fan, proper ducting, and humidity controls are essential to prevent this.
